First Steps with Hive Console
Create Hive Account
To get started with Hive, first sign up and create your Hive account if you haven’t already.
You can use this page to login or sign up.
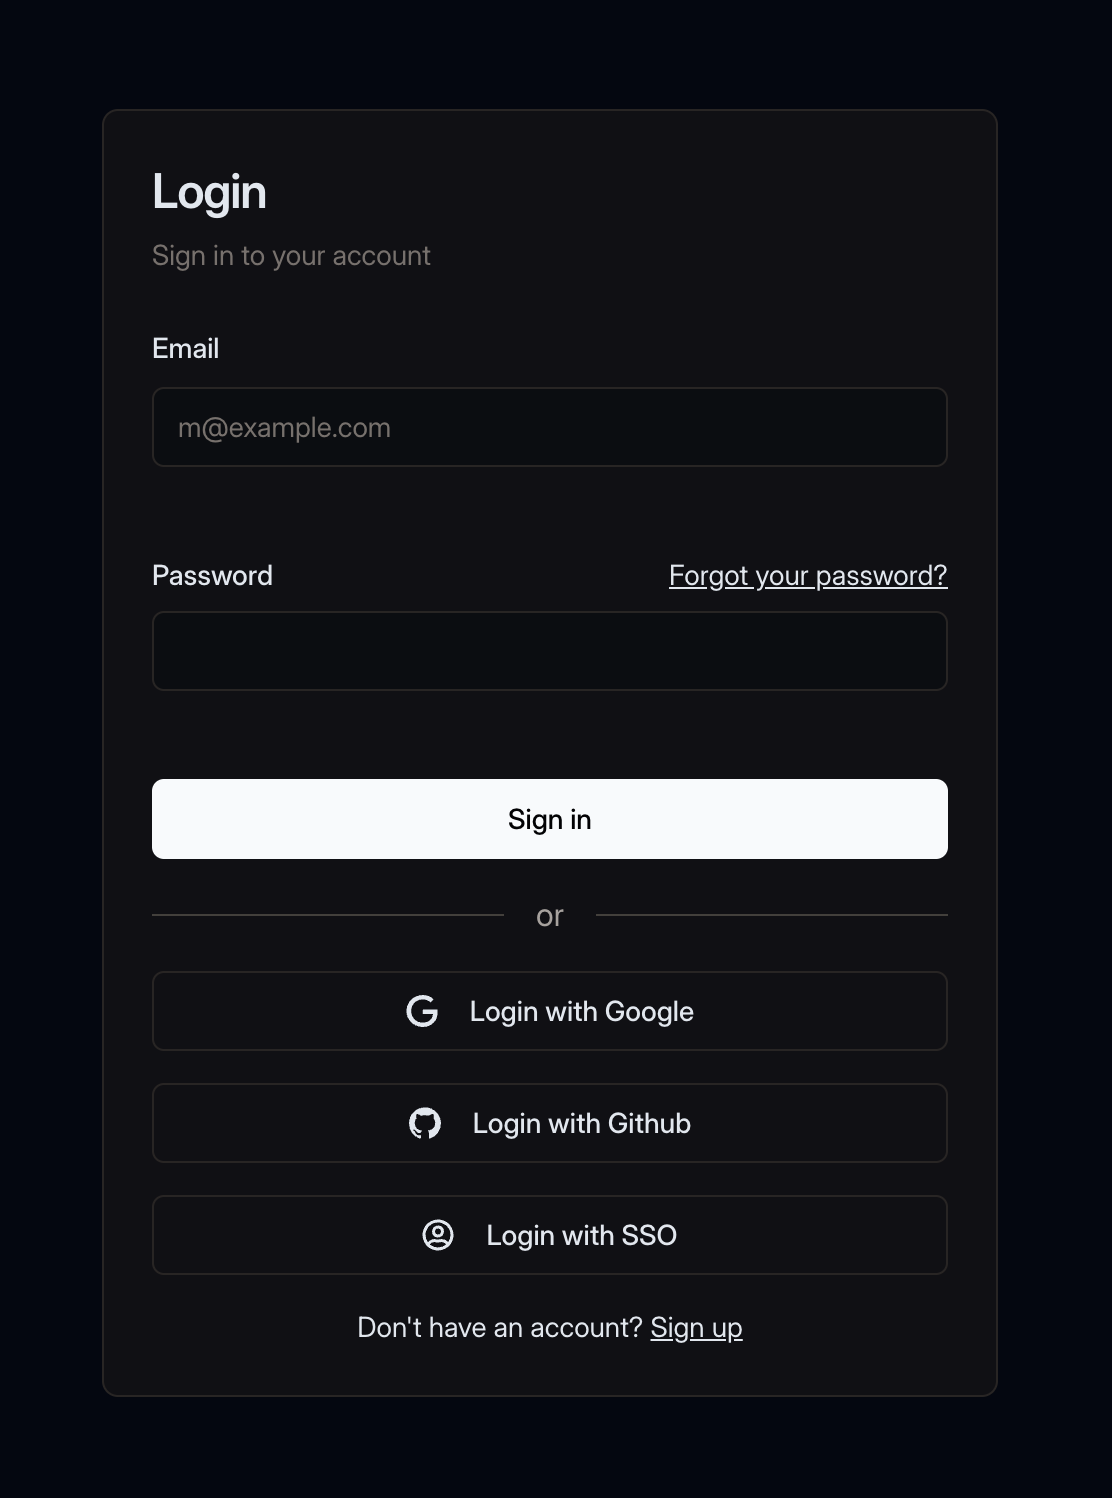
Once you have your Hive account, you can create your Hive organization.
Create Hive Organization
A Hive organization is a group of users who share a common set of permissions, or who collaborate on GraphQL APIs. Hive organizations are used to manage access, integrations, and billing.
To create a new organization, you use this page.
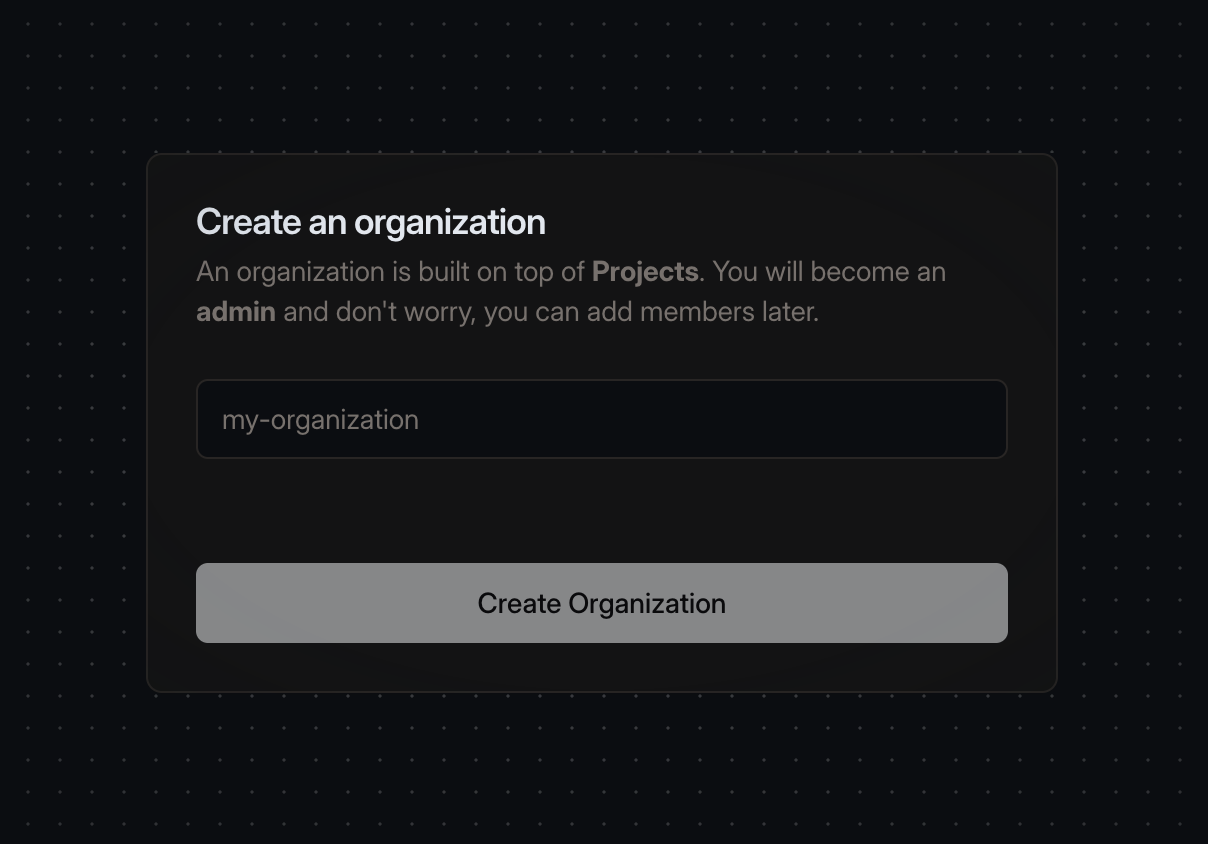
Once you’ve successfully created your organization, you’ll be able to expand your organization by inviting other members to join and collaborate on projects.
Install Hive CLI
Hive CLI is a command-line tool for managing your Hive projects and schemas from the terminal. It will be used for publishing schemas and apps to the Hive registry.
If you are running a non-JavaScript project, you can download the prebuilt binary of Hive CLI using the following command:
To download a specific version, follow instructions from the “Hive CLI installation” chapter.
Run the following command to verify the installation:
If you are running a JavaScript/NodeJS project, you can install Hive CLI from the npm registry:
Verify the downloaded image by running the following command:
For a docker-based project, you can use the official Hive CLI Docker image.
Verify the downloaded image by running the following command:
Create Hive Project
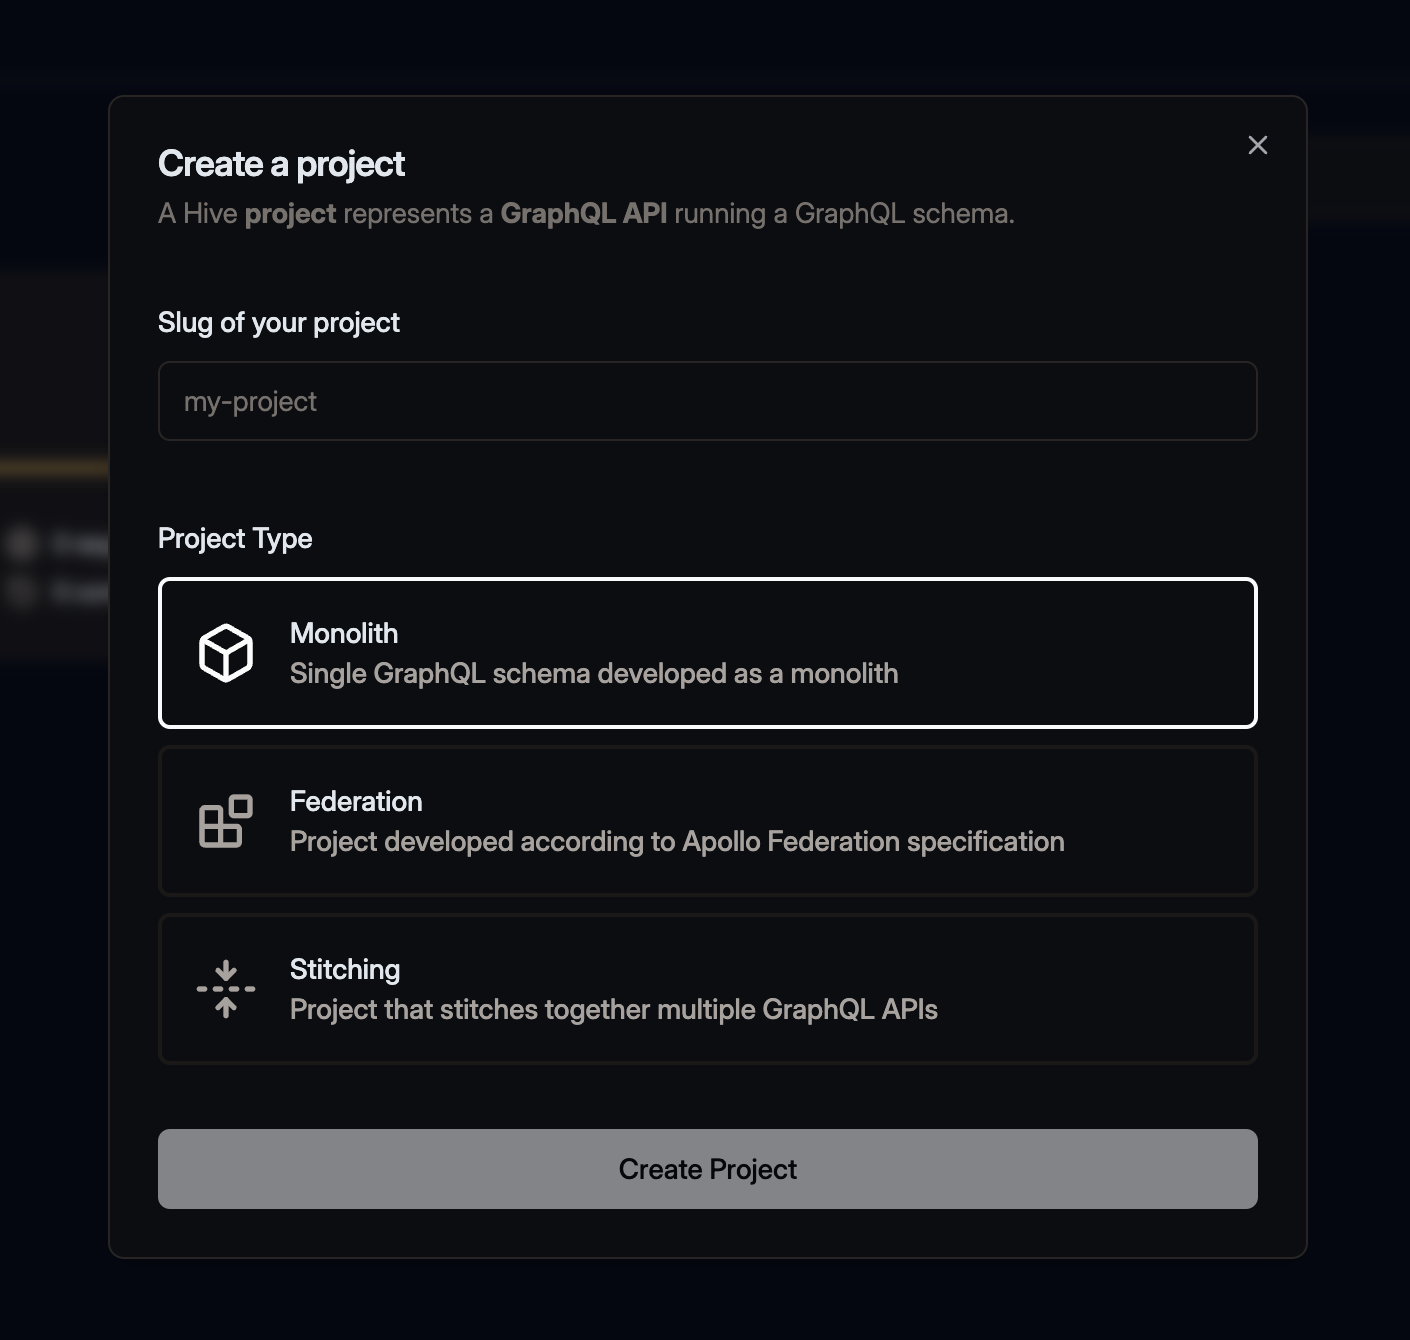
A Hive project represents a GraphQL API project running a GraphQL schema, created under an organization.
Hive supports the following project types:
- Apollo Federation: composition of multiple GraphQL services following the Apollo Federation specification into a single unified graph.
- Single Schema: a simple monolithic GraphQL schema
- Schema Stitching: a form of remote schema merging allowing developers to merge any GraphQL schema(s), under one or many gateways using Schema Stitching
To get started with your Hive project, click on Create Project + button from the organization’s main page:
Continue with one of the following guide based on the type of project you selected.